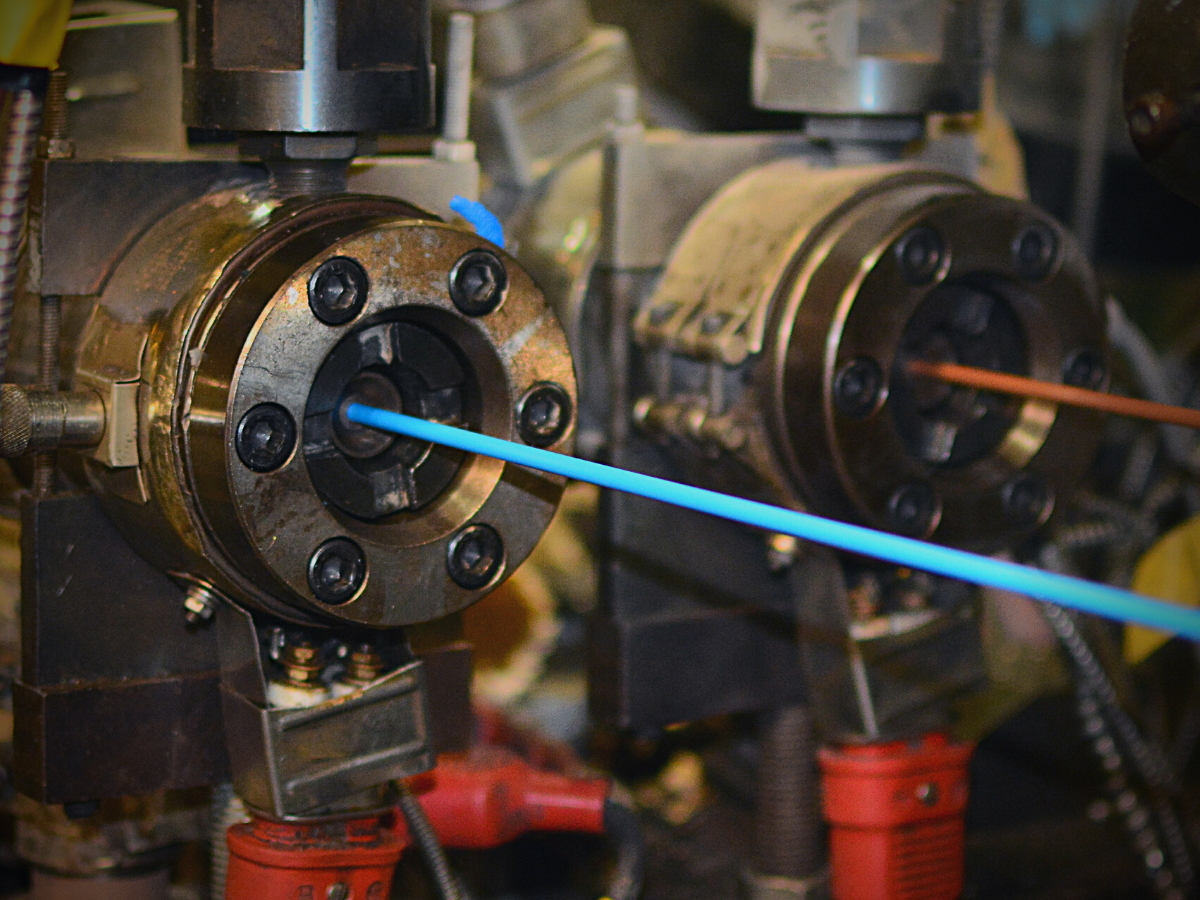
Clean Transducers and Mounting Holes Ensure Quality Extrusions
To meet quality specifications for finished plastic products, dimensional stability during the extrusion process must be maintained by keeping the output rate and the melt condition constant. To do so, extruders usually monitor the melt temperature and melt pressure via temperature sensors and pressure transducers. However, it’s not uncommon for these sensitive measurement devices to become damaged and fail in these processes. One of the most common issues associated with transducer failure in extrusion processes is installation into an improperly machined mounting hole as forcing a transducer into a too-small or misaligned hole can damage the sensor’s diaphragm.
In many extrusion processes, the mounting hole was likely machined to the correct size, but left-over plastic residue can harden and cause the hole to “shrink” or become erratic in size. For this reason, it’s important that the transducer and the mounting hole are both properly cleaned and free of any plastic build up. This blog will discuss signs of transducer failure and the proper method for cleaning both the sensor and the mounting hole.

The Importance of Clean Mounting Holes
To prevent faulty readings that can compromise the quality of extruded plastics, it’s important to prevent damage to the pressure transducers. As hardened plastic residue within the transducer mounting holes is one of the leading causes of melt pressure sensor failure, keeping mounting holes clean and preventing plastic build up is critical.
Symptoms of Damaged Pressure Transducers
Most pressure transducers employ an internal diaphragm and, as pressure is applied to the transducer, the diaphragm deflects and causes the gauge to which it is bonded to compress, altering the output signal.
While it is often possible to view at least part of the diaphragm on most pressure transducers, early signs of damage may not be visible. Damage may initially be revealed as a small zero setting offset on the output signal. If the damage becomes severe, the diaphragm may rupture and compromise pressure containment or the ruptured diaphragm may rub against another internal component and create mechanical interference.
How to Clean Transducers and Mounting Holes
The extruder, transducers and mounting holes should be cleaned following the extrusion process. To begin, the transducers must be removed. Keep in mind that the diaphragm is the most sensitive part of the transducer, so it should always be protected during removal and cleaning. The transducers should be removed when the extruder is empty and at operating temperature. Removing the transducer from a cold extruder may result in damage as the transducer will adhere to any remaining plastic that has hardened in the machine.
Once removed, the transducer should be gently wiped with a clean, dry cloth while the tip is still hot. Any polymer or plastic that has already hardened can be removed using solvent or, if available, a fluidized bed cleaning system. Please note that wire brushes or abrasives should never be used to clean the diaphragm of the transducer.
Before reinstalling the transducer into the extruder, the mounting holes must also be cleared of any remaining plastic residue that may have seeped in during the process or when the transducers were removed from the extruder. If the hardened plastic is not removed, it will likely damage the transducer when it is replaced.
The mounting holes should be cleaned while the polymer is still in a semi-molten state. Cleaning tool kits are available to remove the plastic residue. Please note that when using cleaning tools, care must be taken not to exceed the specified torque rating to avoid damaging the cleaning tool.
The cleaning process involves cleaning the threads of the mounting hole with a specialized tap. Next, the guide sleeve/cleaning drill should be threaded into the hole and then, using a clockwise motion, the cleaning drill should be pushed and turned to remove residue from surfaces. The tool should be removed and wiped down and the process should be repeated until the tool is clean when removed.
The kit may include a blueing agent that is to be applied on the gauge plug surfaces below the thread. The gauge plug should be inserted into the hole and rotated until surface binding occurs. Following this step, the gauge plug should be removed and inspected. The blueing should only be scraped off the sealing chamber. If it has been removed from other surfaces, the mounting hole is not clean or has not been machined properly.
It is possible that repeated cleaning may create holes that are too deep, which can result in damage to the transducer tip. If this happens, spacers may be used to raise the transducer.
Ensuring that the transducer and the mounting holes are properly cleaned and free of hardened plastic contaminants will help achieve accurate pressure readings and enhance the quality of extruded plastics.
For more information, please contact a representative at Sensors Incorporated.
